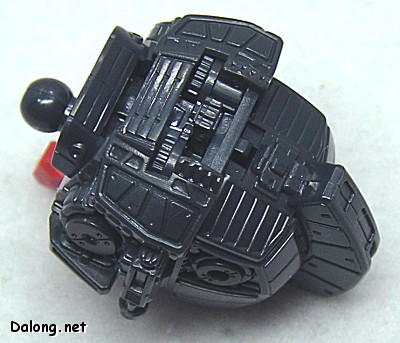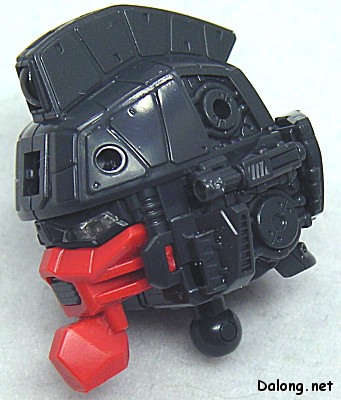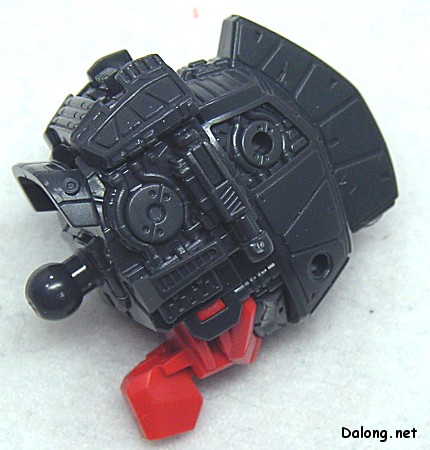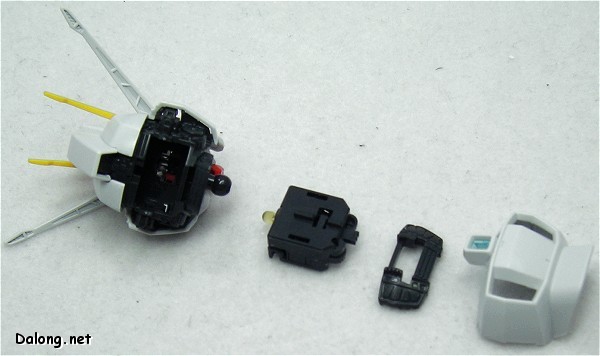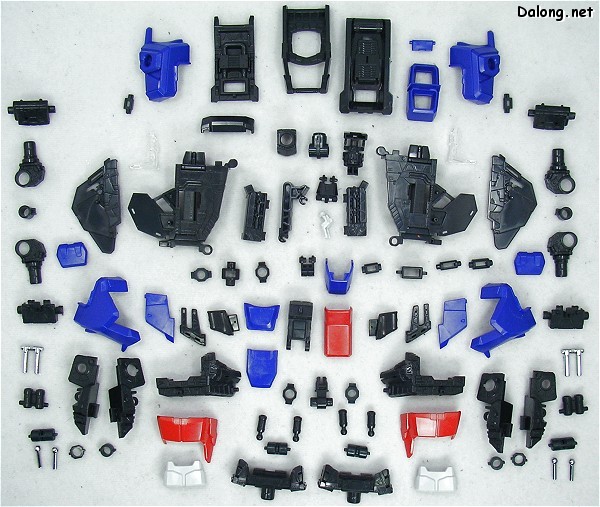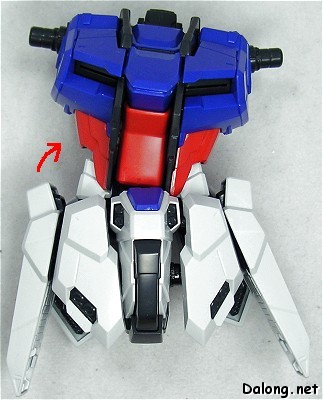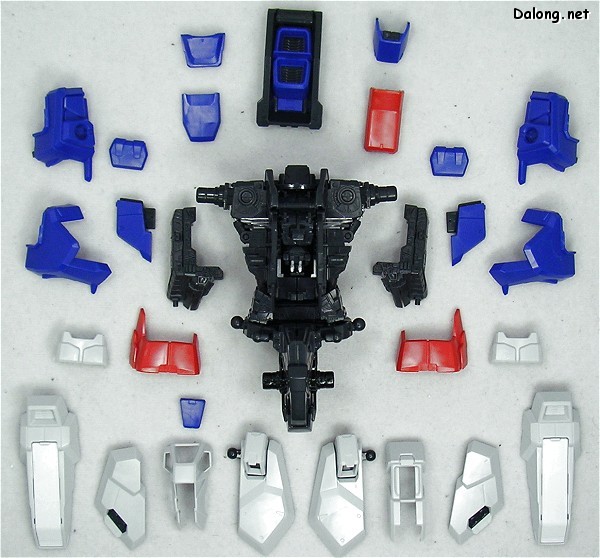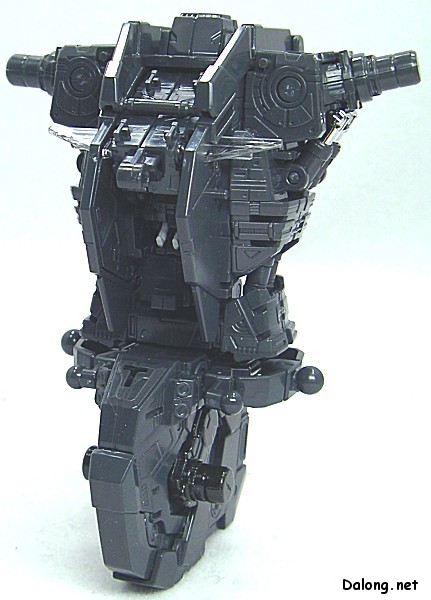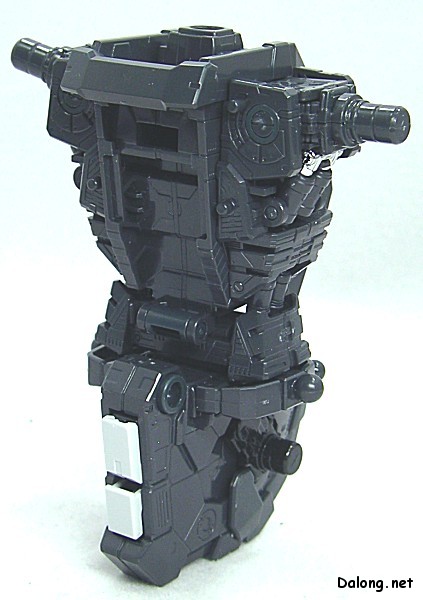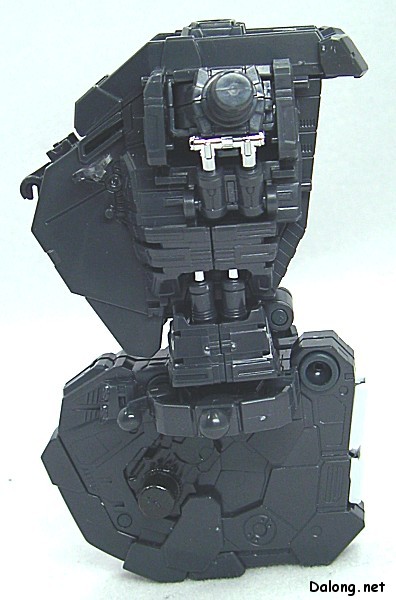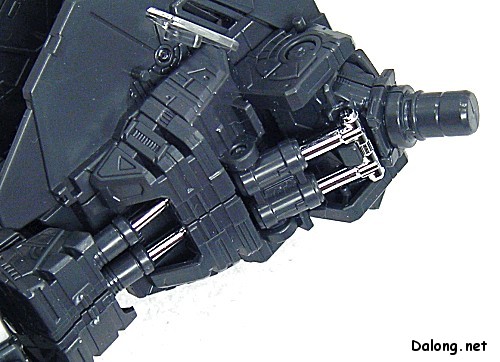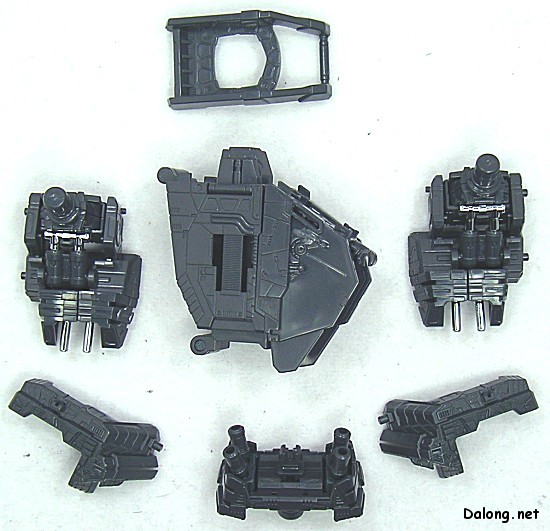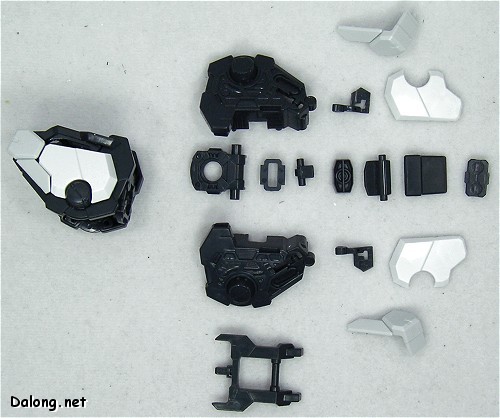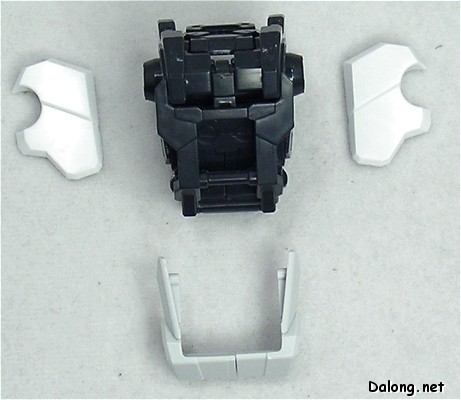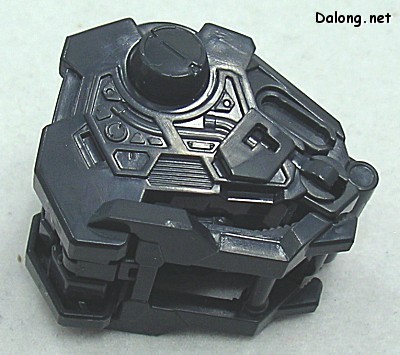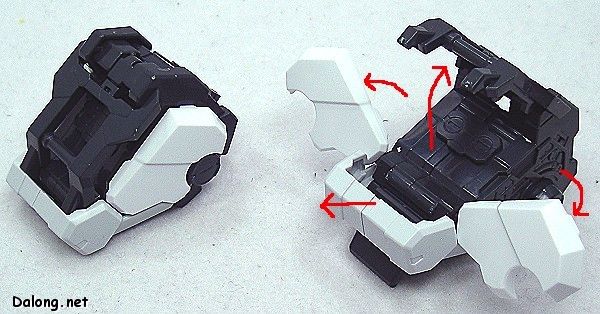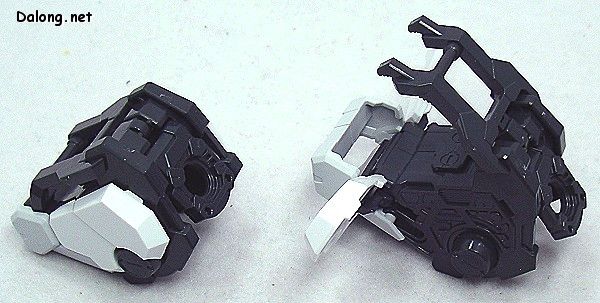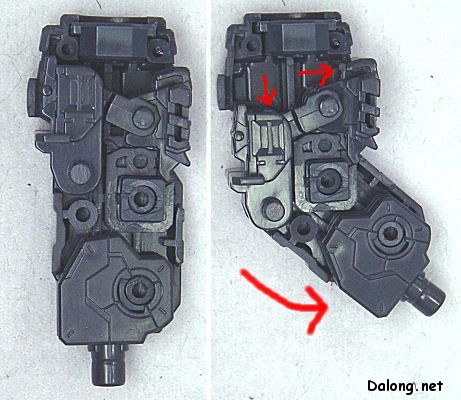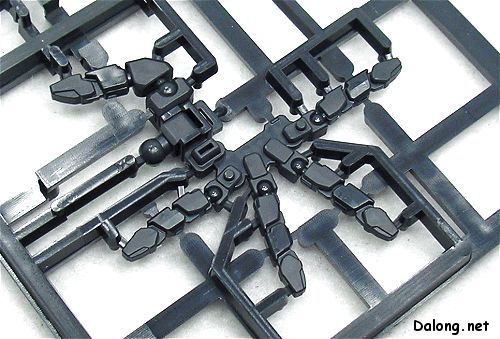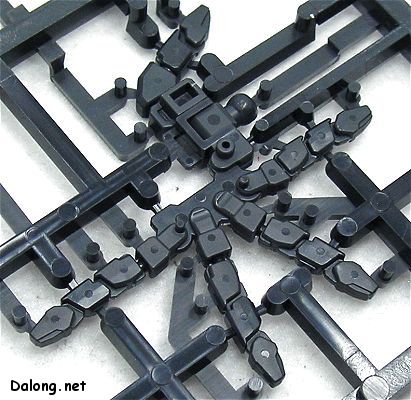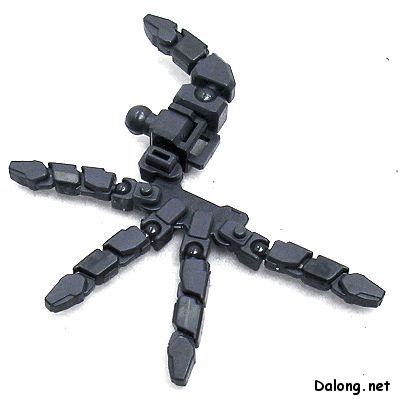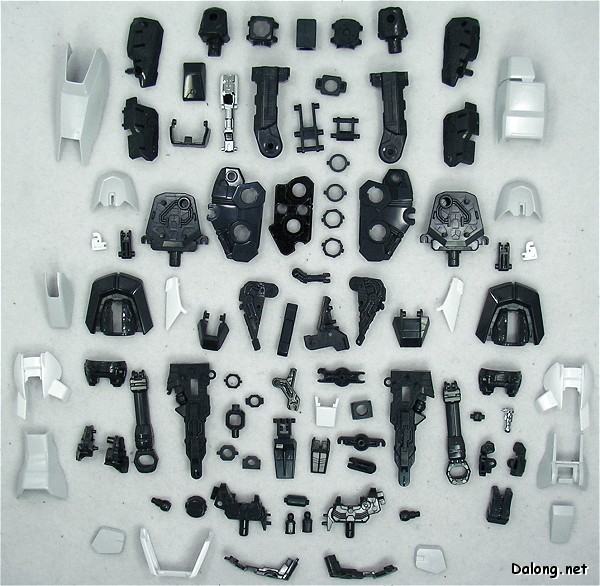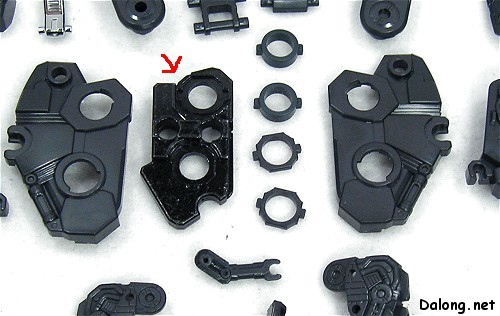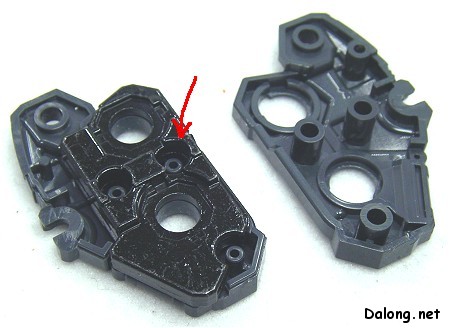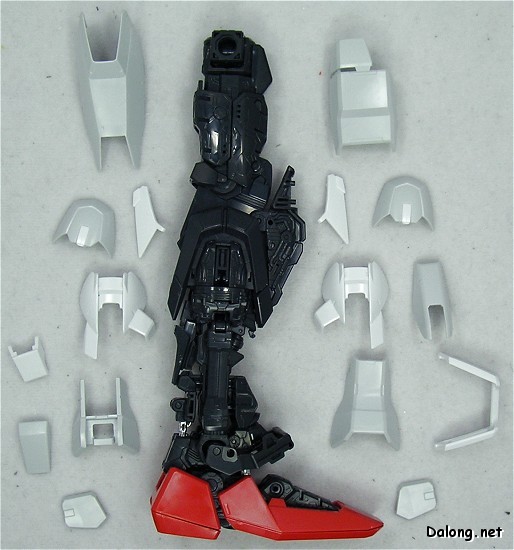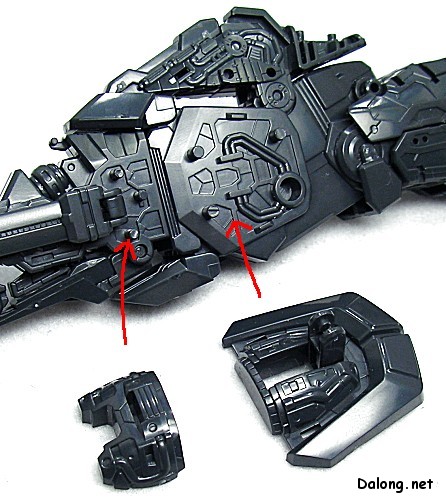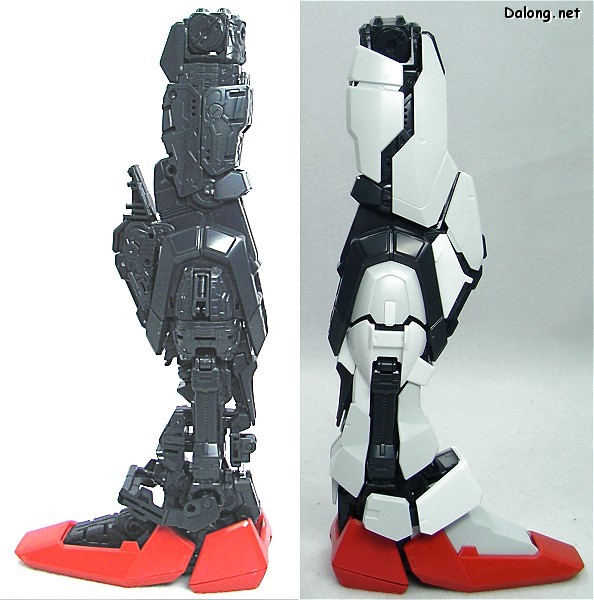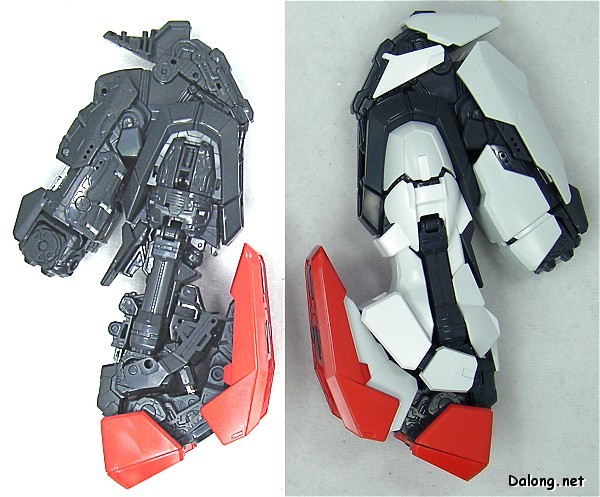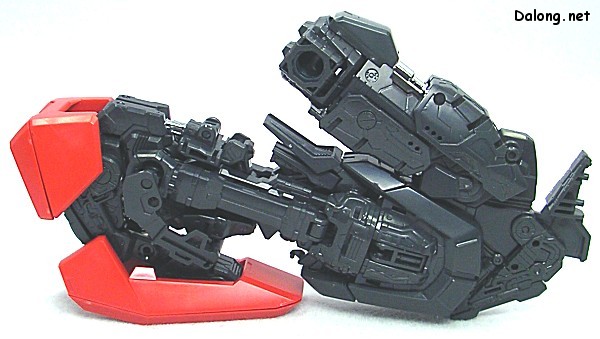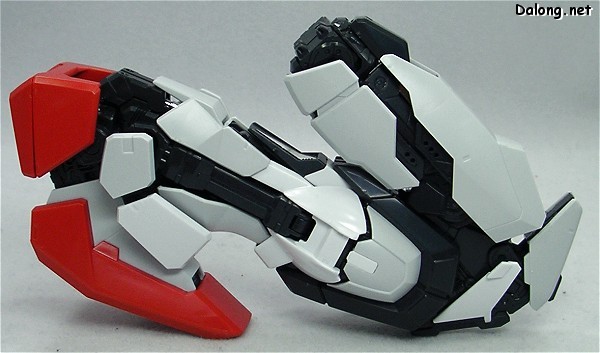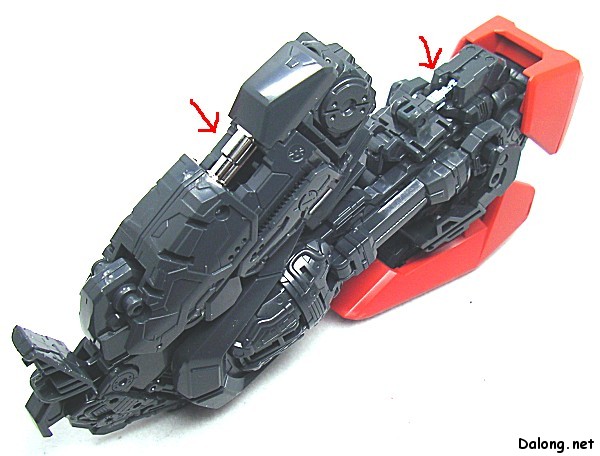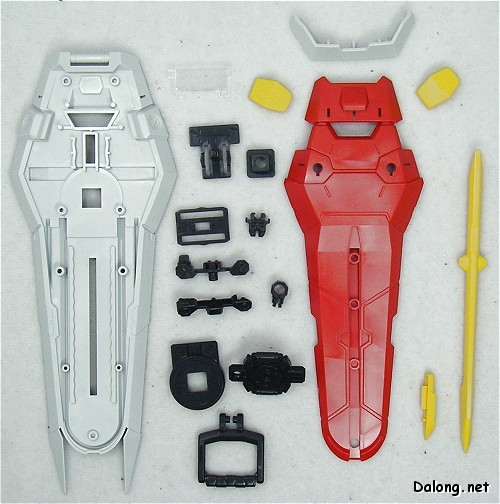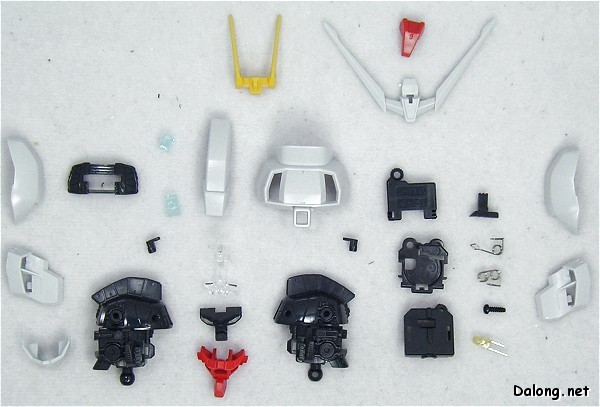
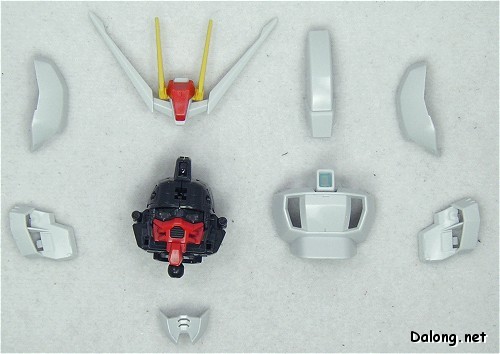
Upper torso parts diagram
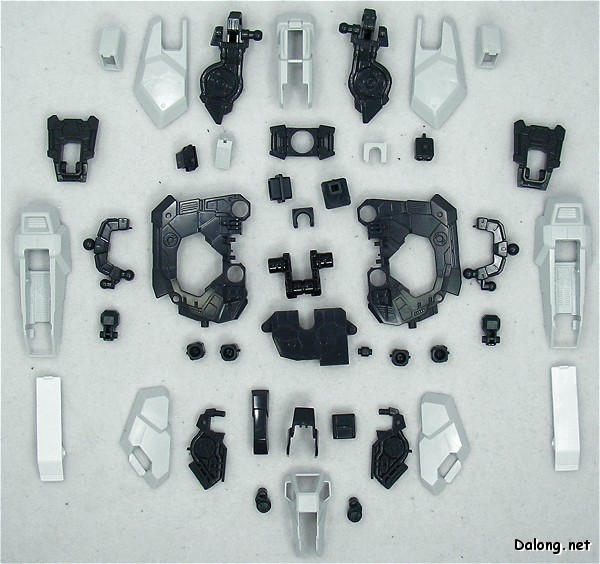
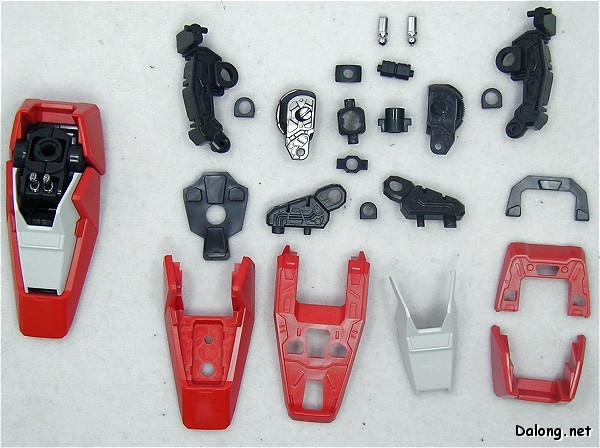
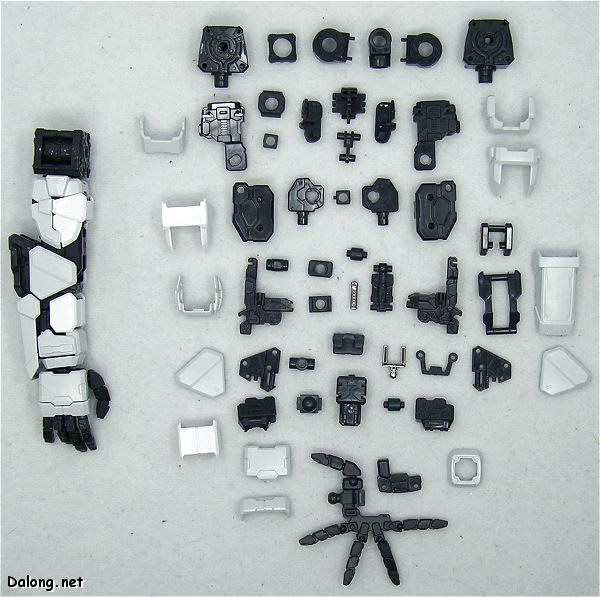
Lower torso parts diagram
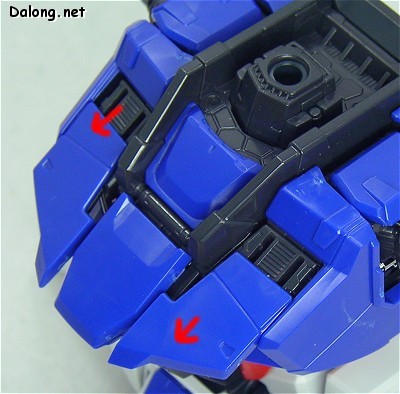
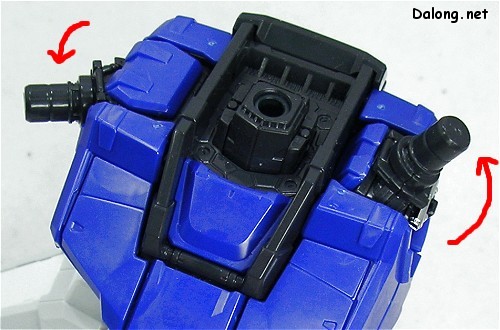
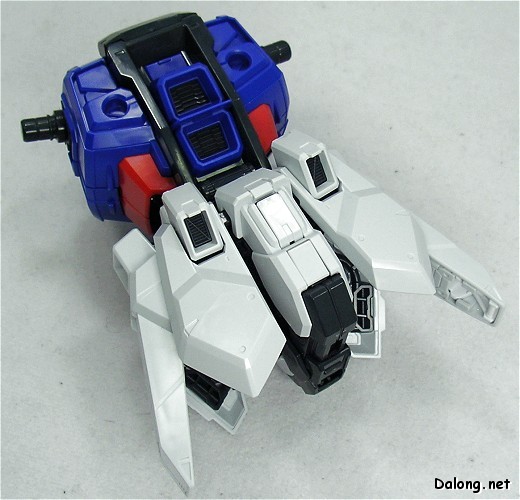
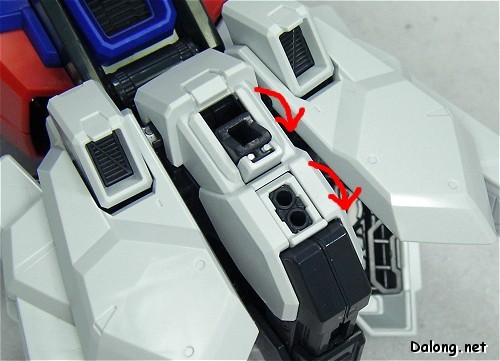
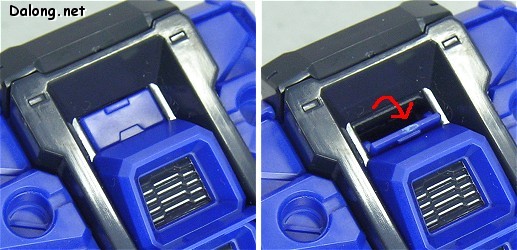
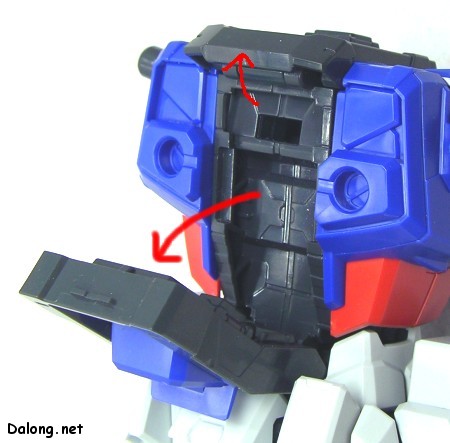
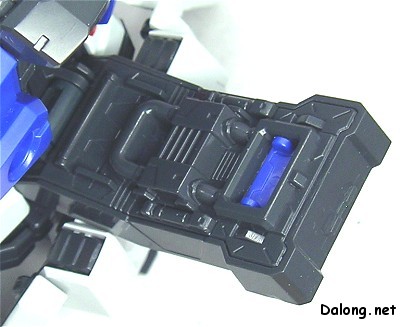
Cockpit hatch open
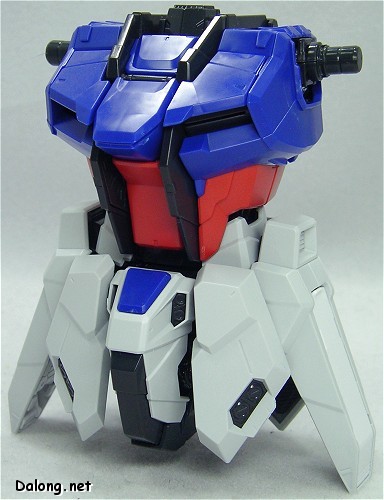
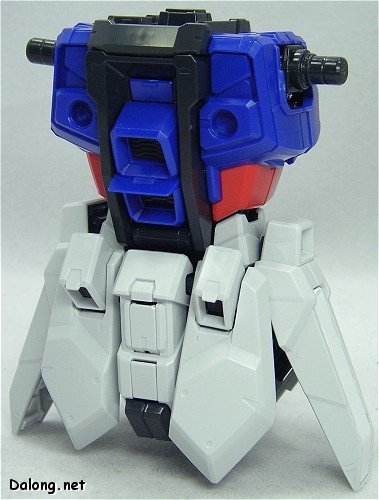
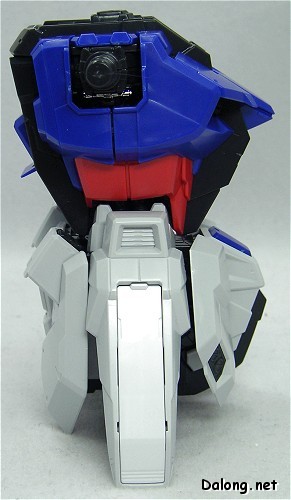
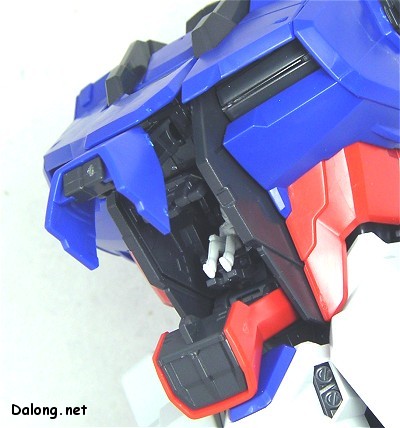
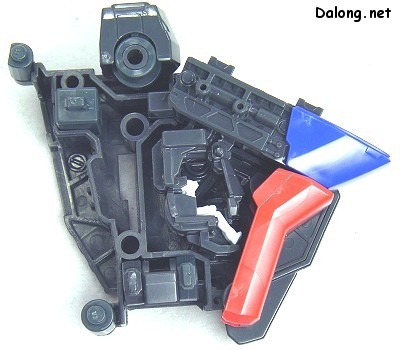
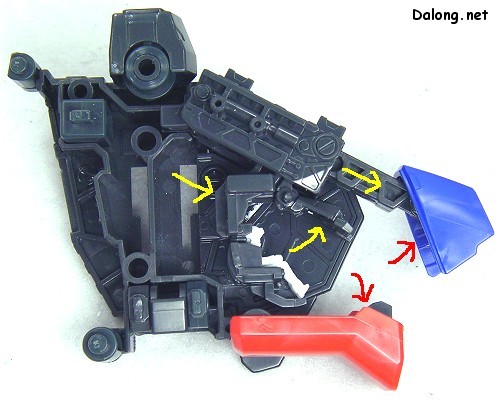
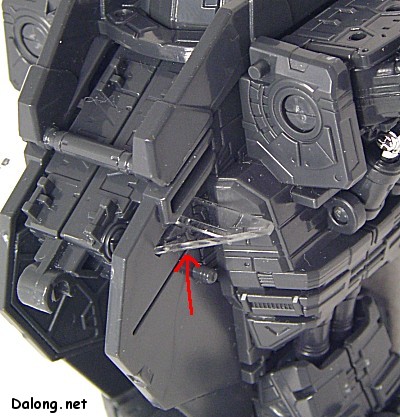
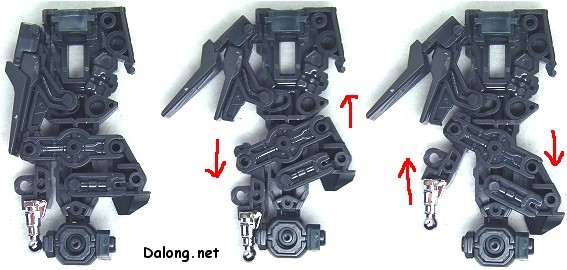
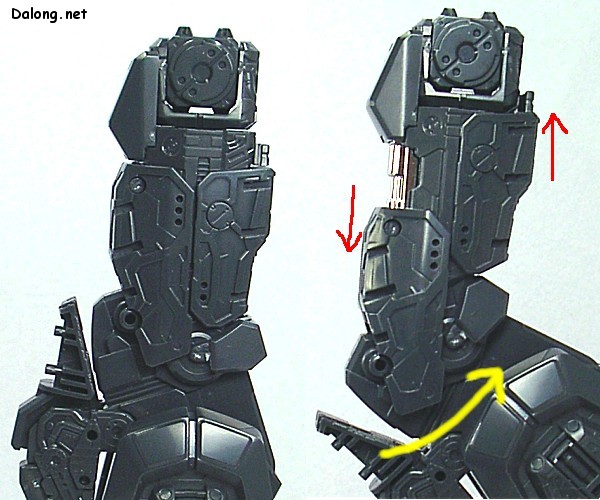
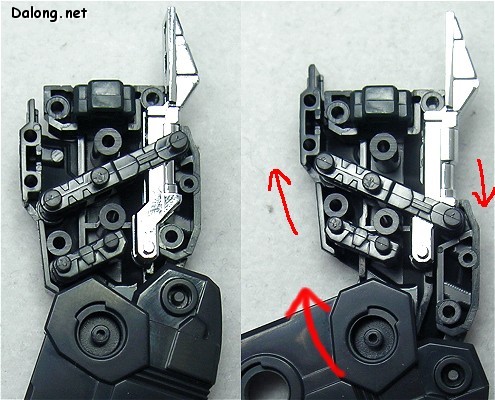
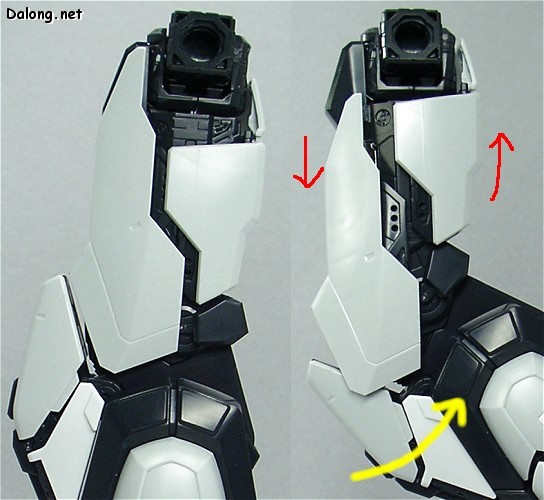
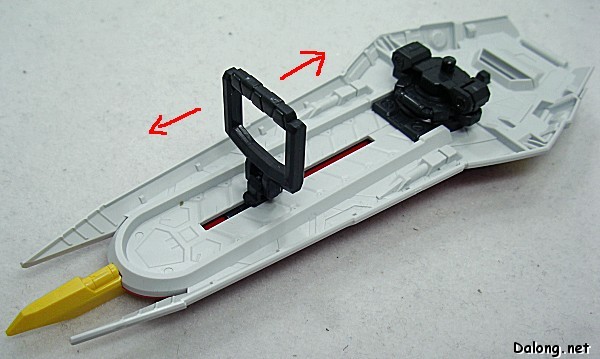
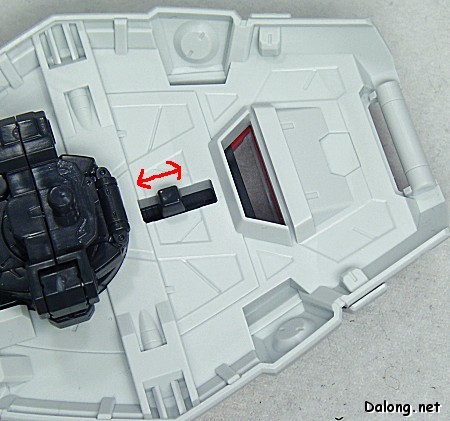
The cockpit hatch-open mechanism is very systematic. Shown here in the stowed position inside the body.
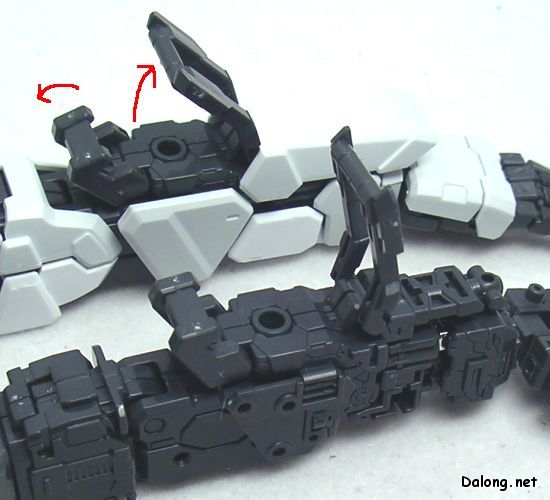
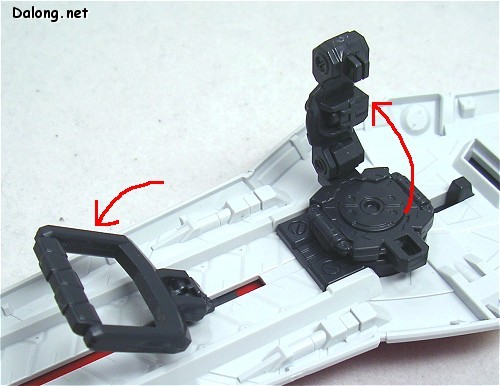
When you open the blue cockpit cover on top and pull it forward, the cockpit slides out and down along with it.
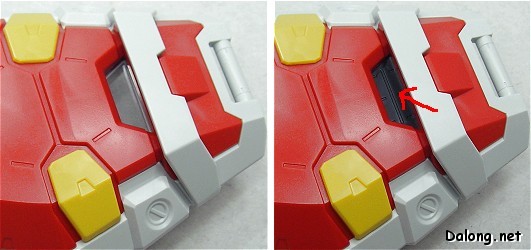
At the same time, the monitor screen in front of the cockpit automatically rises up, allowing the pilot to get in and out.
Very PG-like — attention to detail in every little corner.
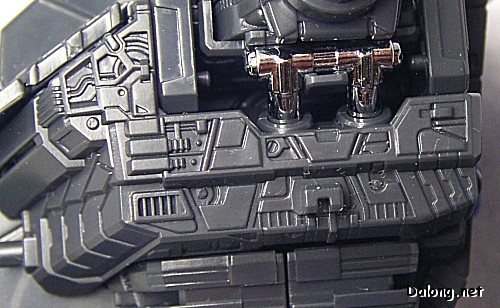
There's no separate hatch opening on the body itself, but the chest armor does slide forward and open up slightly.
Better than nothing, I suppose? ^^;
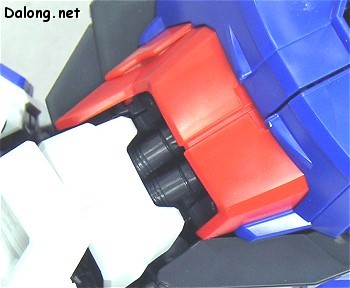
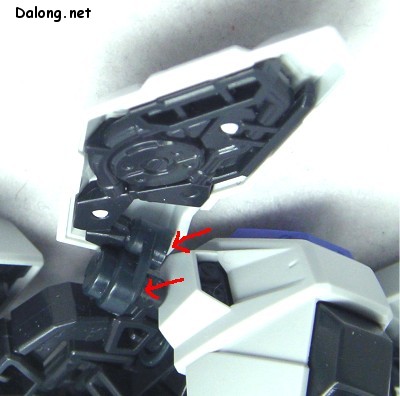
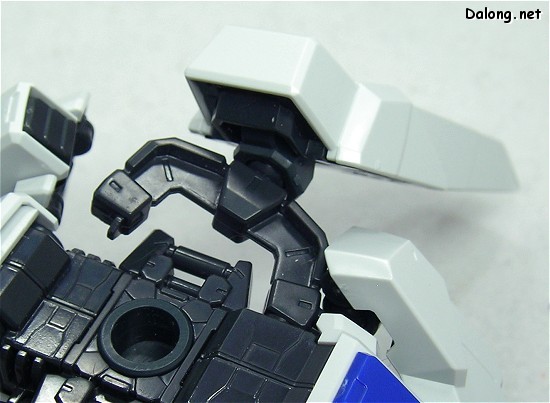
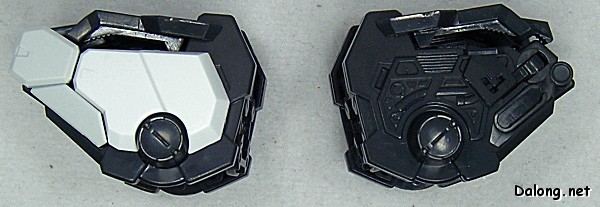
The shoulder joint moves freely forward, backward, up, and down. MGs can do this much too.
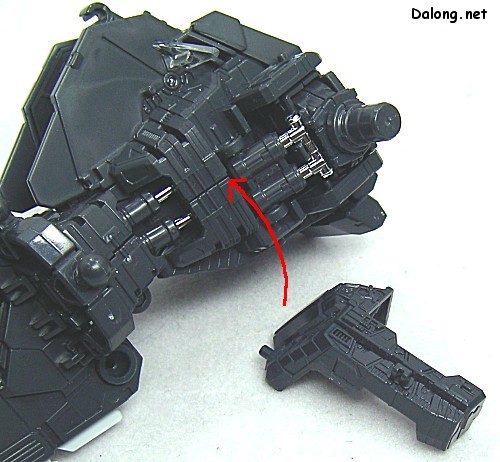
The sides are intentionally left open, giving you a peek at the internal cylinders.
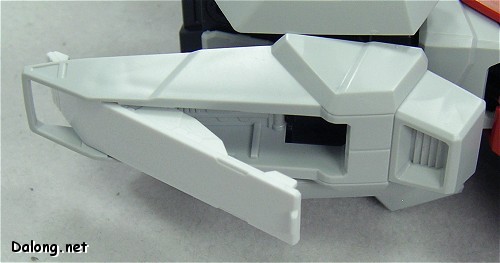
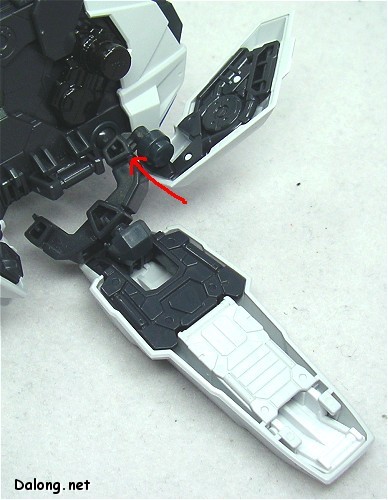
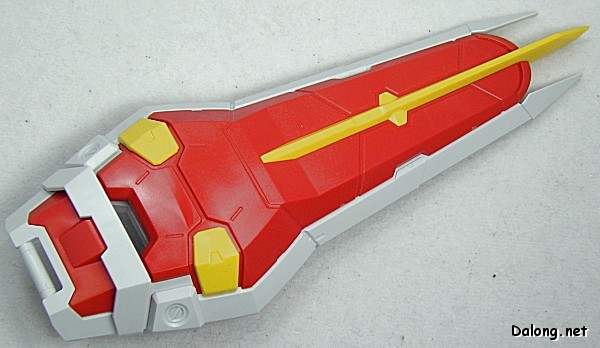
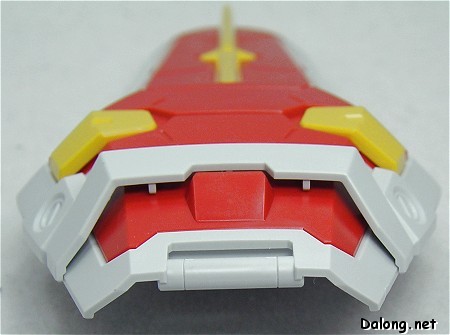
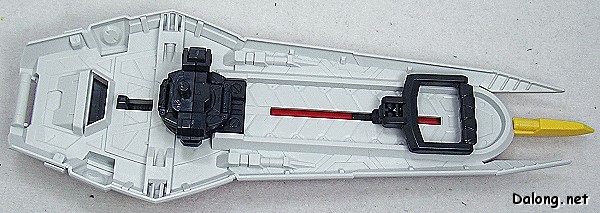
The section on the side where the Armor Schneider is stored. Only the storage cover is molded in pure white runner plastic.
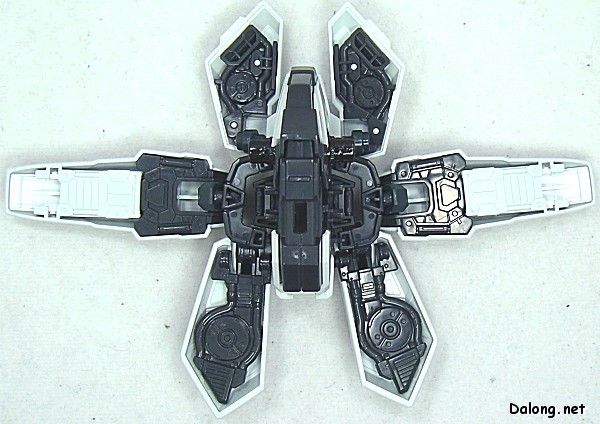
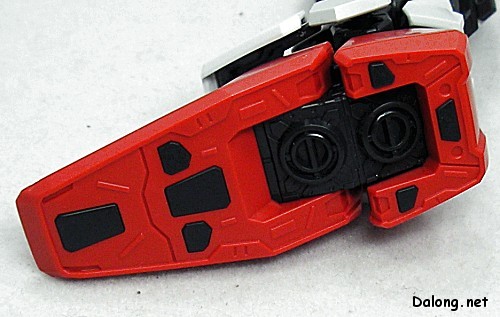
Rear bottom view
There are two separate openings on the rear of the backside.
The upper one is a slot for hanging weapons, but the lower one is...??
It looks like a port for plugging in an energy charging cable — so does that mean a launch pad with an energy cord is coming later?!?
There's a polycap slot built in for attaching future backpacks like the Aile pack.
It stays closed normally and only opens slightly when something is plugged in, so it stays hidden during regular display. Thoughtful!
Here's something unusual though — the entire rear cover is designed to open up.
It's not immediately obvious what it's for.
The detail on the inside of the rear cover is no joke either.
It looks like something is meant to be stored in there later — surely they're not planning to plug a gun barrel into the back like the Strike Dagger, right?;;
Or maybe it's for carrying the upcoming Sky Grasper on its back...
Either way, this is one very suspicious-looking hatch.
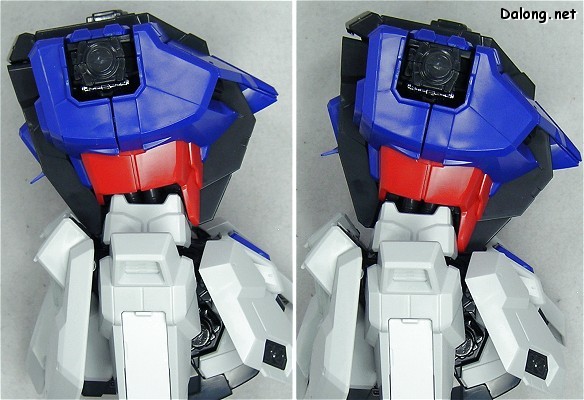
The waist can swivel slightly to the sides.
The waist also moves forward and backward, and the cylinder gimmick moves along with it.
The molding on the inside of the skirt is really excellent.
The front skirt is connected with a double-jointed polycap, giving it a wide range of motion.
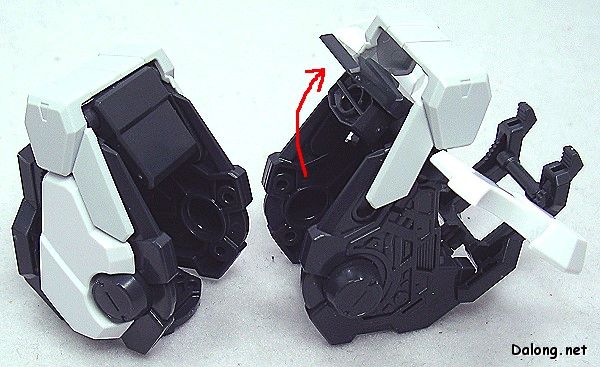
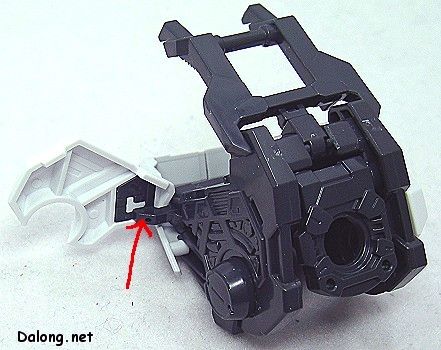
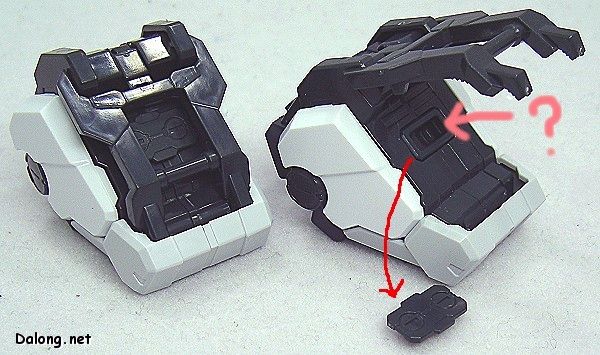
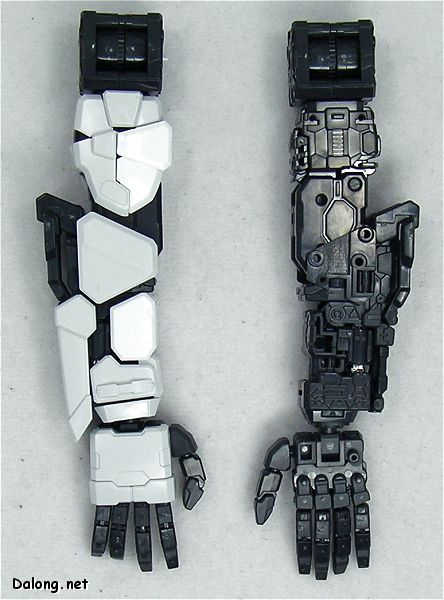
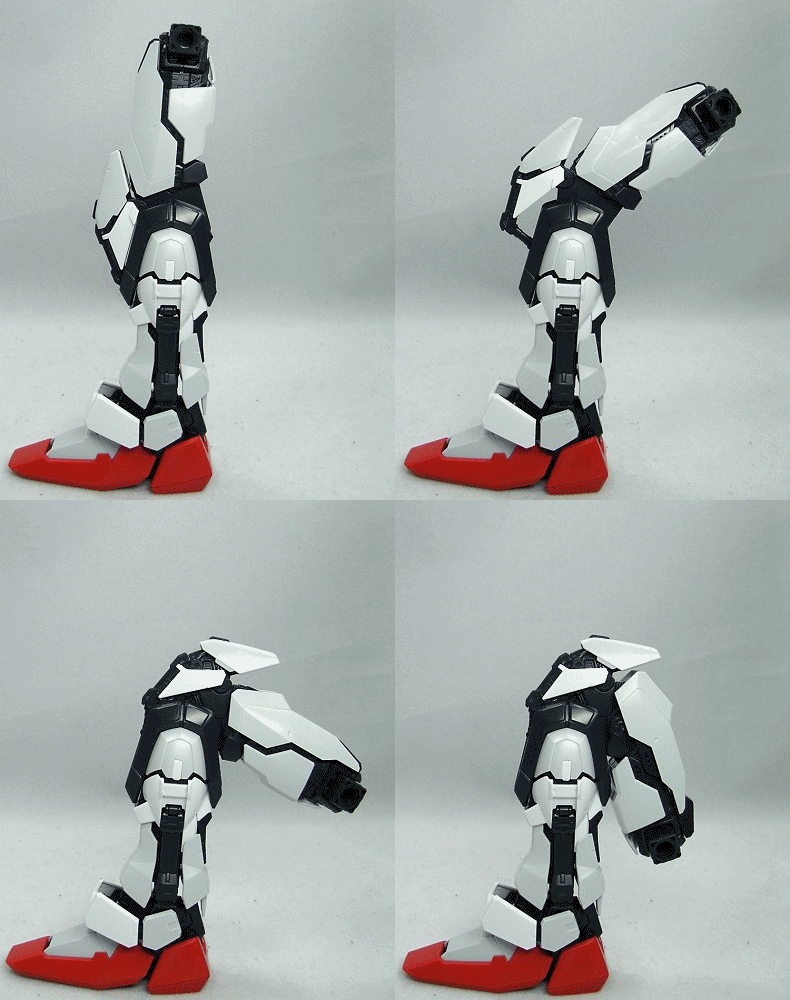
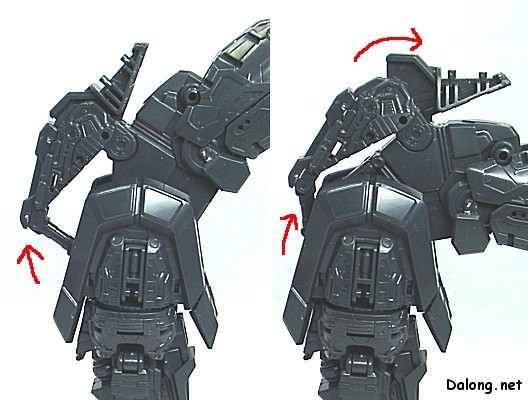
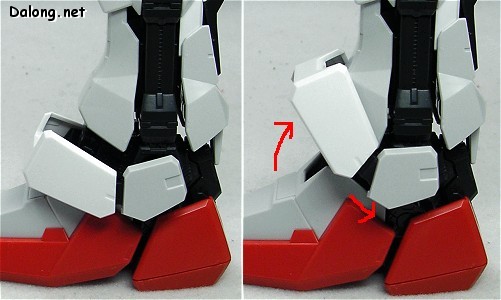
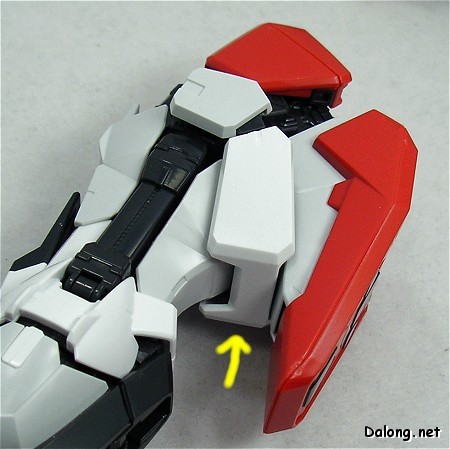
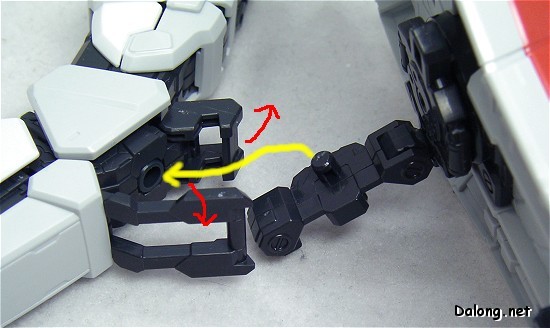
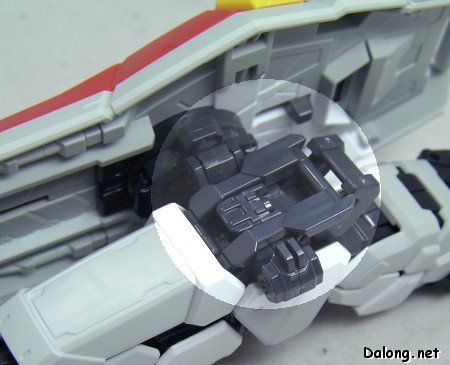
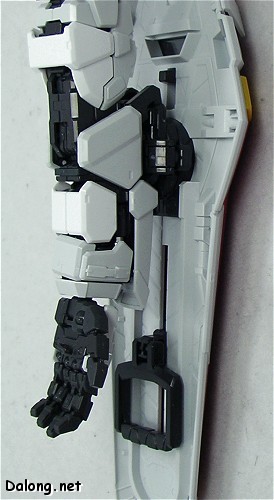
The C-shaped part that connects the side armor isn't fixed in place — it moves freely up and down like that.
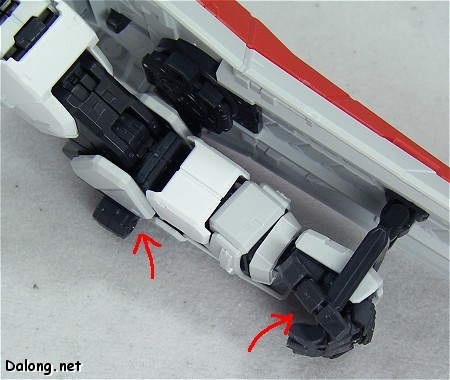
Looking from below you can see the movement more clearly,
the side armor and front skirt armor are both attached to the C-shaped part,
and that C-shaped mount is only connected to the body at the front.
Thanks to this unique structure, the skirt can move out of the way no matter how much the legs move,
which ultimately maximizes the legs' articulation significantly.
With all the outer armor stripped off
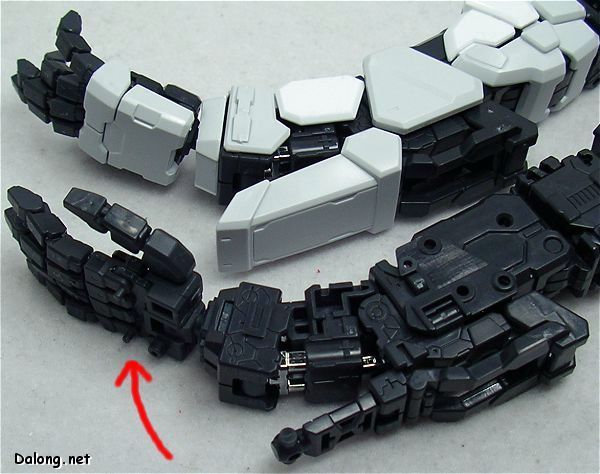
Below the shoulders, the side areas each have plated cylinders that move.
Clear parts are used in the chest duct area, but once it's all built up, you can barely see them
On top of the shoulder cylinder frame, there's an additional layer of internal frame to attach.
The mold on the mechanical frame below the shoulder. Seeing it in person, the level of detail is absolutely insane;;
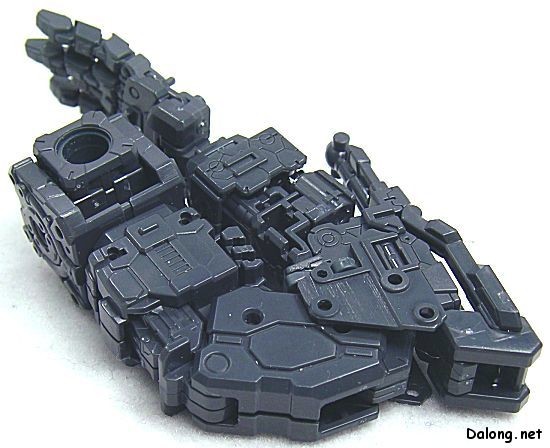
The upper torso's internal frame is made up of a combination of multiple blocks.
The blocks for the arm and "lung" areas are attached to the torso core —
which is a shame because it ends up covering up the sleek mold on the sides of the torso core
The photo above shows the connection between the upper and lower waist.
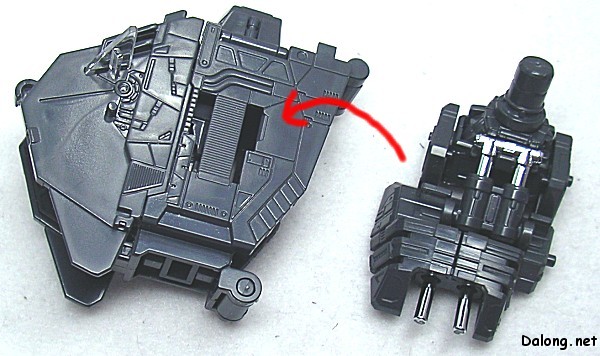
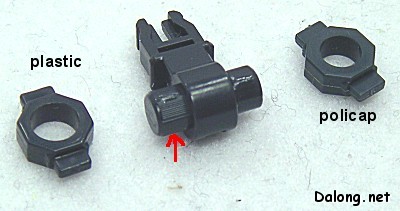
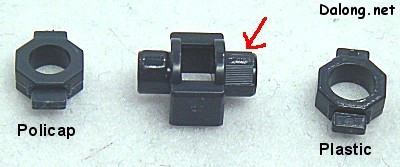
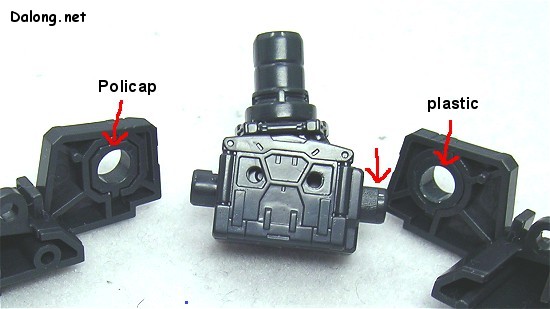
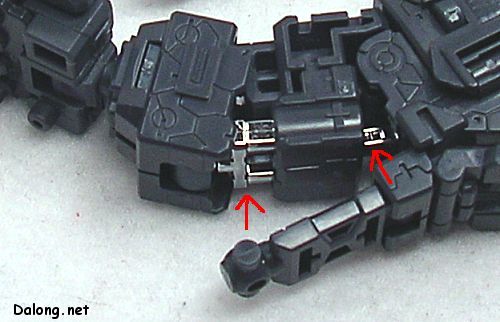
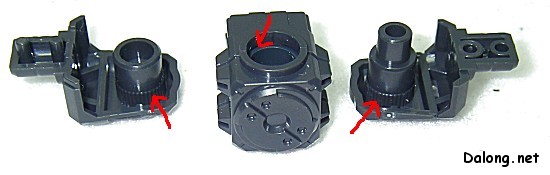
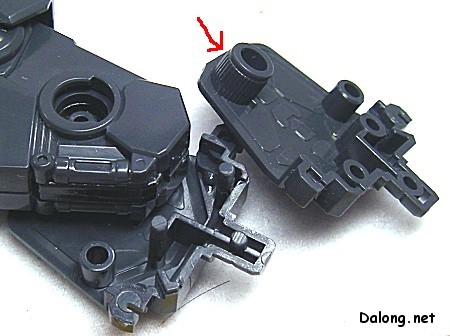
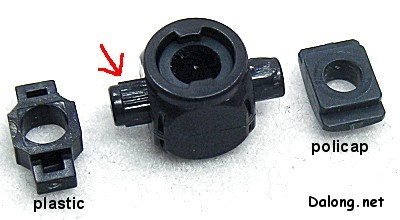
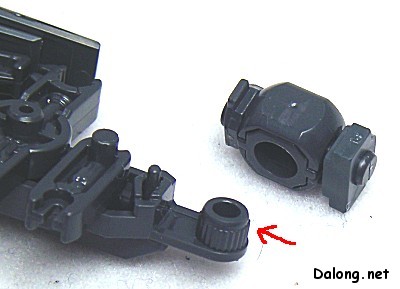
Just like the legs, the torso has many joint areas that rely on polycap and gear+plastic friction instead of screws —
there are many joint areas that rely on polycap and gear+plastic friction.
Using both polycap and gear friction together makes it quite sturdy.
The shoulder connection also uses a combination of both methods.
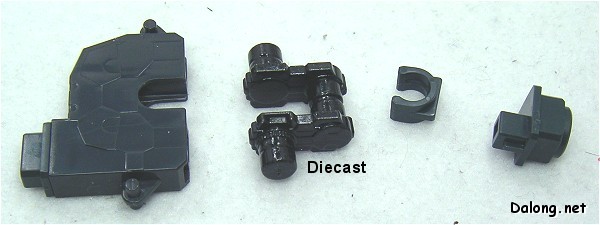
The hip area connecting the body to the legs uses a sturdy, heavy diecast part.
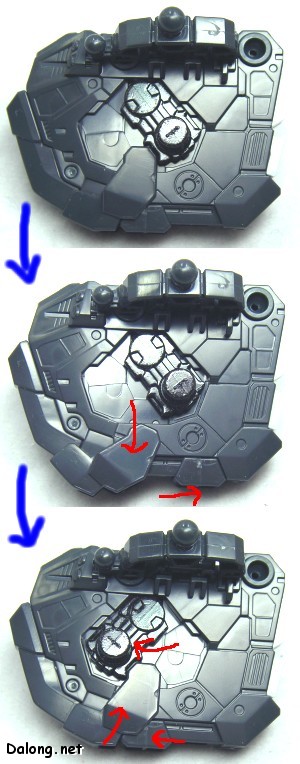
There are two ways to lock the diecast piece.
Normally it's fixed toward the rear as shown in the top photo, but you push the horizontal locking pin at the bottom backward,
and lower the pin that locks the diecast's position, and you can rotate the diecast 45 degrees forward.
After that, you lock the double pins back in reverse order.
By adjusting the leg connection this way, you can achieve poses like crouching more naturally.